
How to Create a Website
You are most definitely reading this because you want to learn how to create a website, either for yourself, your business, or you want to learn how to do it and offer it as a service.
Before we jump into the article teaching you how to create a website, it is always good to think about what you hope to achieve with the website you plan to build. Brainstorming ideas, researching relevant competitors’ websites, and having a clear objective in mind would help you know the best path to take.
In this article, we’ll be showing you how to create a WordPress website in 6 simple steps, and the best part is we have a video guide showing you the exact steps to take when building a WordPress website.
In case you did not know WordPress accounts for 42% of the websites on the internet and is ranked as the NO. 1 website building platform., it allows users the freedom to build any kind of website (e-commerce store, blogging site, business website e.t.c.)
Register your domain name
First things first, you have to get a domain name. A domain name is the address of your website that people type in the browser to visit your website. You would need to take a bit of time to find the best domain name for your website, but generally, your domain name needs to portray your business so it’s easy to find on search engine platforms like Google, Bing, and Yahoo.
Ideally, your domain name should be similar to your business name, for example, the activewear clothing company Nikes’ domain name is nike.com. Most of your customers expect your domain name to be similar to your business name.
To register your domain name, you will need to find an accredited registrar like Namecheap and pay for your domain name. Registrars are organizations that manage the reservation of domain names, responsible for leasing the name to you for an agreed period and a set price.
Companies like Namecheap, make it easy to buy and register your domain name, it is highly trusted and used by over 2 million site owners worldwide.
Get a web hosting package.
Once you have gotten your domain name which represents your business the next step is to get a hosting package for your website.
To explain it simply, the hosting package is like a plot of land which would be occupied by a house (your website) that would have a street address to find the house(your domain name).
It’s important to note that not all web hosting packages are equal, some are best for small businesses, eCommerce websites, or depending on the expected volume of traffic you expect to be receiving on your website.
There are a number of factors you must consider when picking your hosting package/provider; loading time, server uptime, customer support, available storage, and data security.
Therefore it’s important you consider these factors before choosing a web hosting package.
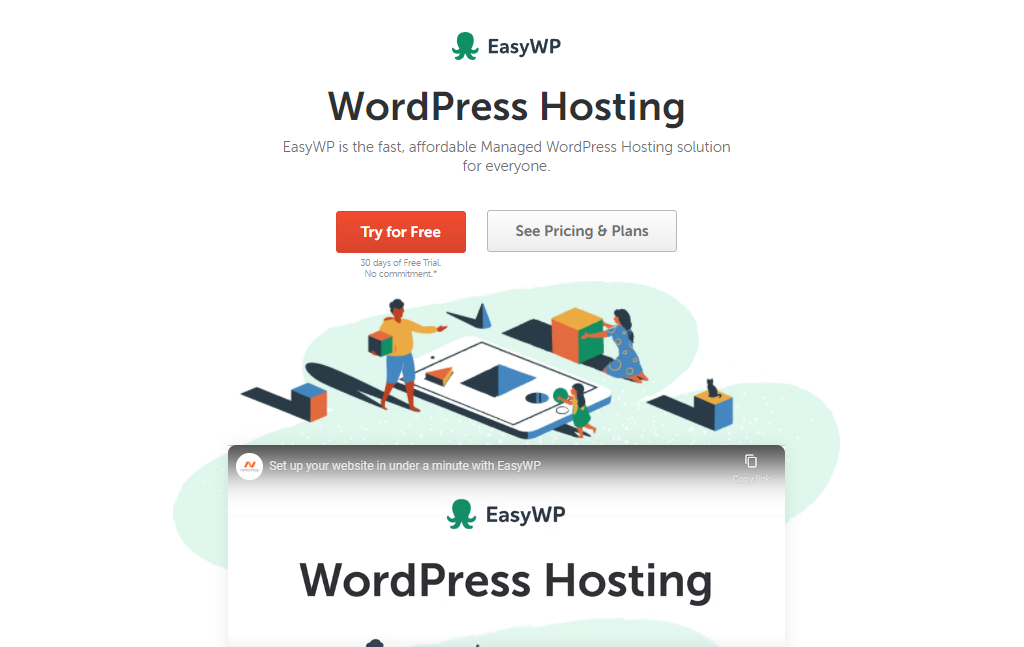
Namecheap has several hosting packages to choose from, but if you want the best package for your WordPress website, you should go for one of their EasyWP packages
Installing WordPress
Once you have gotten the first two steps out of the way, the next thing to do is install WordPress on your domain name. If you followed our previous step, this step would be very easy and straightforward.
Alternatively, if you choose to use other hosting packages, you may be presented with a different process. Most shared hosting packages offer access to a Control panel often known as a Cpanel. The Cpanel is the back end of your hosting account, giving you administrative access to your hosting package.
Your Cpanel allows you to create and modify software and data for your web projects. In that case, you would be able to install WordPress for your website using a tool called Softaculous app installer. Click here to watch our YouTube video for assistance.
The great thing about creating a WordPress website is that you do not need to know how to code. These are the steps you need to take to install WordPress.
- Open the WordPress installer.
- Select the most recent WordPress version.
- Fill out your site settings.
- Create your admin account.
- Selct email to send installation detials to.
- Install WordPress.
Once WordPress is done installing, you would be given the login details to your brand new site. You would then log in and begin setting up your site.
Websites need to be kept up to date, so make sure you plan for ongoing maintenance.
As a newbie with no coding idea or you are looking at having an online shop or offering other services through your website, having a web developer build a website for you is a good idea. A professional web developer can build your site quickly and provide guidance on successful web design.
For optimization, it is important to design your website such that it can be easily used on smartphones and other mobile devices. This means that the growing number of people using phones and tablets to access the internet can use your site while they are out and about.
Installing a new theme
When your website is installed the next thing to do is to install a new theme for your website, as the default theme that comes with WordPress isn’t all that impressive.
There are a number of themes out there and it’s easy to get lost on which theme to use for your website, but if you are looking for a super clean modern look for your website then you may want to consider Astra. It’s also lightweight which makes your website load faster reducing the bounce rate of visitors.
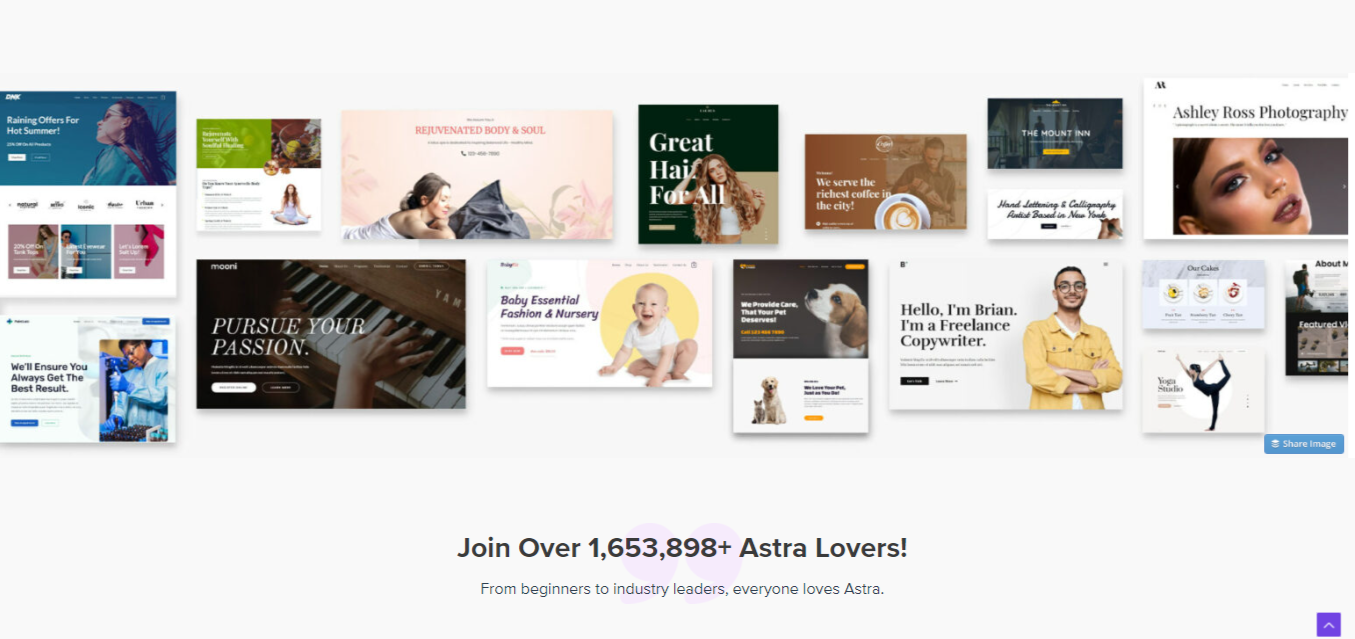
It comes with several prebuilt sites which you can import and begin to customise to fit your own business. Installing a new theme is easy, as all you need to do is:
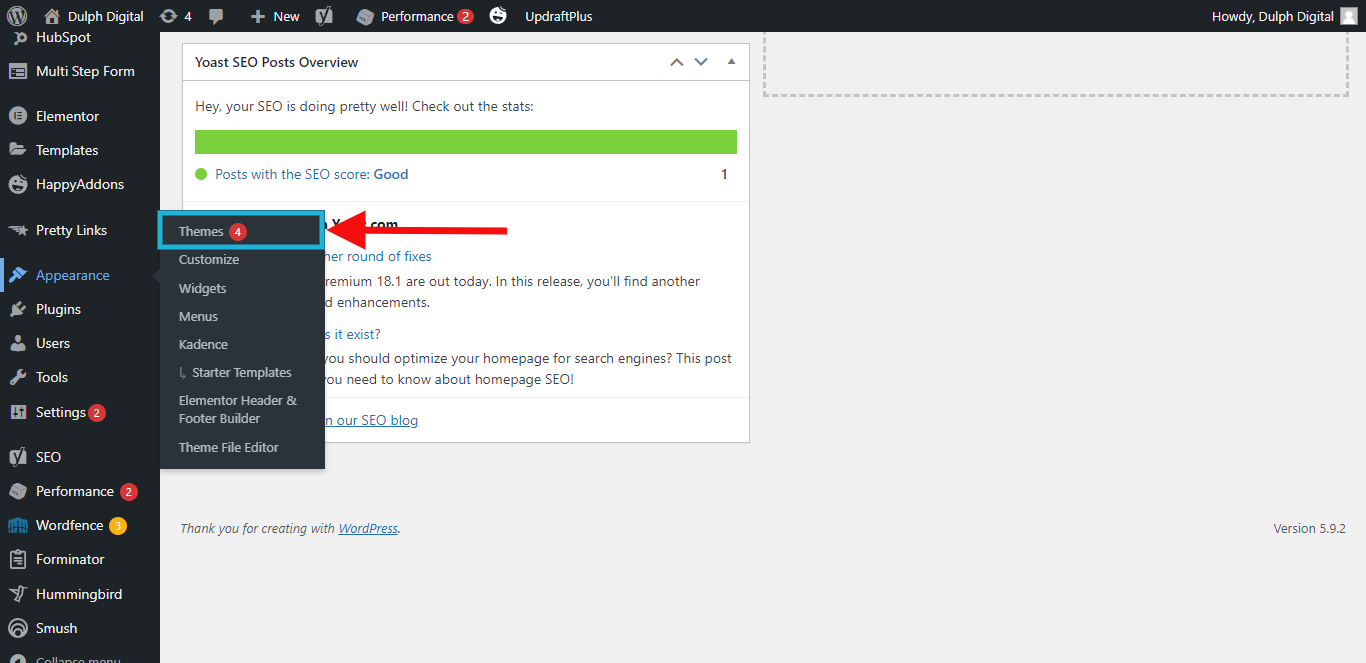
- Go to appearance
- Click on themes
- Click on add new
- In the search bar type in “Astra“ or any other theme you plan to use.
- Click on install
- Once installation is complete click on activate.
Once your new Astra theme is installed and activated, you would be presented with a rundown on how to go about installing a prebuilt website template on your website. Watch our video guide on YouTube for assistance.
Installing Plugins
If you have carried out the previous steps appropriately, you would have no difficulty in installing the required plugins on your new WordPress website. As Astra themes automatically present you with a list of plugins you need to install while setting up your theme.
You may need additional plugins for your website, to increase its functionality. For example, if you want to have an eCommerce website you would have to install woo commerce to have the added functionality of selling products and receiving payments on your website.
The truth is there are a bunch of fancy plugins that you can add to your website but you do not need all of them, as too many plugins on your website can slow it down and you may also encounter compatibility issues.
That’s why we encourage you only to install essential plugins that would help you make your website a money-making machine on autopilot. Here is our list of essential plugins that you need for your website:
- Elementor – Is a page builder that allows you to build and edit your website using drag and drop features.
- Yoast – Is a Search engine Optimisation tool that allows you to effectively rank your website on search engine platforms.
- Tawk.to – Adds live chat capabilities to your website and makes it possible to interact with your website visitors in real-time.
- Wordfence – Provides security and protection to your website, guarding you against hackers who may want to force their way into your site and steal it from you
- Hummingbird – Helps you compress file size on your website to make it load faster and increase its page speed.
- W3 Total Cache – Is a WordPress performance plugin that dramatically improves the speed and user experience of your site. Ut adds browser, page, object and database caching as well as minify and content delivery network (CDN) to WordPress.
Editing your demo content
Once you have installed all the essential plugins listed above, the next step is to begin editing the demo content from the theme you imported to your website.
Editing demo content with the use of page builders such as elementor makes the process easy, and straightforward. There are other WordPress page builders such as beaver builder, Divi, Brizy, Wp Bakery, and so much more, depending on which sort of features suit you, you may use any of these to build your WordPress website.
Ideally, to make this process effortless you would have taken some time to write down what sort of information you want on your website. Doing this ahead of time takes out the stress of thinking on the spot once you begin editing the demo content on your new website.
Conclusion
We believe having gone through this article you are well equipped to create your own website with ease. Although if you discover halfway through the process you would be unable to finish your website, and you want professionals to handle the task of creating a website for you, you can reach out to us via support@dulphdigital.com